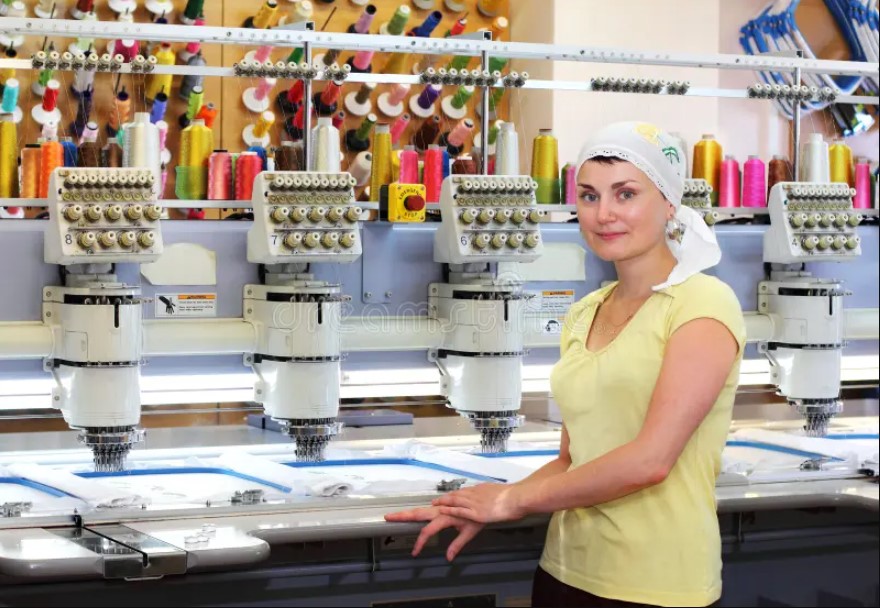
Ever wondered how your crisp logo transforms into perfect embroidered stitches? That magic happens through professional custom embroidery digitizing services – the behind-the-scenes process that makes or breaks your embroidered branding. Whether you’re creating employee uniforms, promotional products, or custom fashion, understanding this process ensures you get professional results every time.
In this guide, we’ll walk you through:
✔ The step-by-step digitizing journey
✔ Why custom beats generic files
✔ How to prepare artwork for best results
✔ Real-world examples of transformations
✔ Choosing the right digitizing partner
Let’s turn your designs into stitch-perfect reality!
The Art-to-Stitch Transformation Process
1. Artwork Evaluation (The Make-or-Break Stage)
Your digitizer starts by assessing:
- File quality (vector vs. raster)
- Design complexity (gradients, fine details)
- Stitchability (minimum text size, line thickness)
Pro Tip: Vector files (AI/EPS) yield the cleanest results. If working with PNG/JPG, ensure 300+ DPI resolution.
2. Stitch Mapping (Where the Magic Happens)
This is where pixels become stitches:
- Satin stitches for borders/text (1-8mm width ideal)
- Fill stitches for solid areas (0.35-0.55mm density)
- Running stitches for fine details
- Underlay for stabilization (critical for stretchy fabrics)
Case Study: A coffee shop’s 0.25″ text became readable after switching from auto-digitized to manual satin stitches.
3. Fabric-Specific Adjustments
A great digitizer tailors files for:
| Fabric Type | Key Adjustments |
| Stretchy Knits | Extra underlay, pull compensation |
| Thick Denim | Reduced density, longer stitches |
| Delicate Silk | Lighter tension, fine thread |
| Towels/Terry Cloth | Mesh underlay, avoided small text |
Why Custom Digitizing Beats Generic Files
1. Precision Fit for Your Design
- Manual stitch pathing preserves details
- Custom density prevents puckering
- Color transitions stay sharp
2. Optimized for Your Specific Items
- Hats: Higher density for curvature
- Polos: Stretch-friendly settings
- Jackets: Reduced bulk for thick fabrics
3. Special Effects That Pop
- 3D Puff for dimensional logos
- Metallic Thread optimization
- Texture Effects like simulated etching
ROI Example: A brewery increased merch sales by 40% after upgrading to custom-digitized 3D puff caps.
Preparing Your Artwork: Do’s and Don’ts
What to Provide
✅ Vector files (AI/EPS preferred)
✅ High-res PNG (300+ DPI) if vectors unavailable
✅ Pantone colors for brand accuracy
✅ Clear size specifications
What to Avoid
❌ Low-resolution screenshots
❌ Watermarked images
❌ Text under 0.3″ (0.5″ ideal)
❌ Ultra-thin lines (<1mm)
Pro Hack: Use the “business card test” – if details disappear at that size, simplify before digitizing.
The Digitizer’s Toolkit: What Pros Use
Top Software Choices
| Software | Price Range | Best For |
| Wilcom | $1,200+ | Professional studios |
| Embrilliance | $199 | Small businesses |
| Pulse | $5,000+ | Large-scale production |
Must-Have Features
- Manual stitch editing
- Pull compensation controls
- 3D stitch simulation
- Multi-format export
Real Before/After Transformations
1. The Blurry Logo Fix
Before: Auto-digitized mess with lost details
After: Crisp edges, preserved branding
Key Change: Manual stitch pathing
2. The Stretchy Fabric Solution
Before: Distorted on polo shirts
After: Perfect after 50+ washes
Key Change: Added zigzag underlay
3. The Tiny Text Miracle
Before: Unreadable 0.2″ text
After: Clean 0.35″ satin stitches
Key Change: Simplified font + outline
Choosing Your Digitizing Partner
5 Must-Ask Questions
- “Do you have experience with my industry?”
- “Can I see samples of similar work?”
- “What’s included in your revision policy?”
- “Which file formats will I receive?”
- “Do you offer test stitches?”
Red Flags to Avoid
🚩 No portfolio available
🚩 “One price fits all” pricing
🚩 Using only auto-digitizing
🚩 No customer service number
DIY vs. Professional: When Each Makes Sense
DIY Digitizing Works For:
- Simple text/geometric designs
- Personal projects
- Learning the craft
Worth Hiring Pros For:
- Company logos
- Complex artwork
- Customer-facing merchandise
- Bulk production
Cost Comparison:
| Option | Cost | Best For |
| DIY Software | 50−50−300 | Hobbyists |
| Pro Digitizing | 15−15−75 | Business use |
The Future of Digitizing
Emerging trends changing the game:
- AI-assisted editing (with human oversight)
- Cloud collaboration for remote teams
- Augmented reality previews
- Automated fabric detection
FAQs
Q: How long does professional digitizing take?
A: Typically 24-48 hours; rush options available.
Q: Can you digitize a photo realistically?
A: Possible but requires significant simplification and thread color blending.
Q: What’s the smallest embroidered detail possible?
A: 1mm lines can work but 2mm is more reliable.
Q: How many revisions are normal?
A: Most quality services include 2-3 free tweaks.
Pro Tip: Build a Brand Library
Save optimized files for:
- Hats: 3D puff version
- Polos: Stretch-friendly version
- Jackets: Lightweight version
This ensures consistency across all future orders!

